


£30.75
In stock
In stock
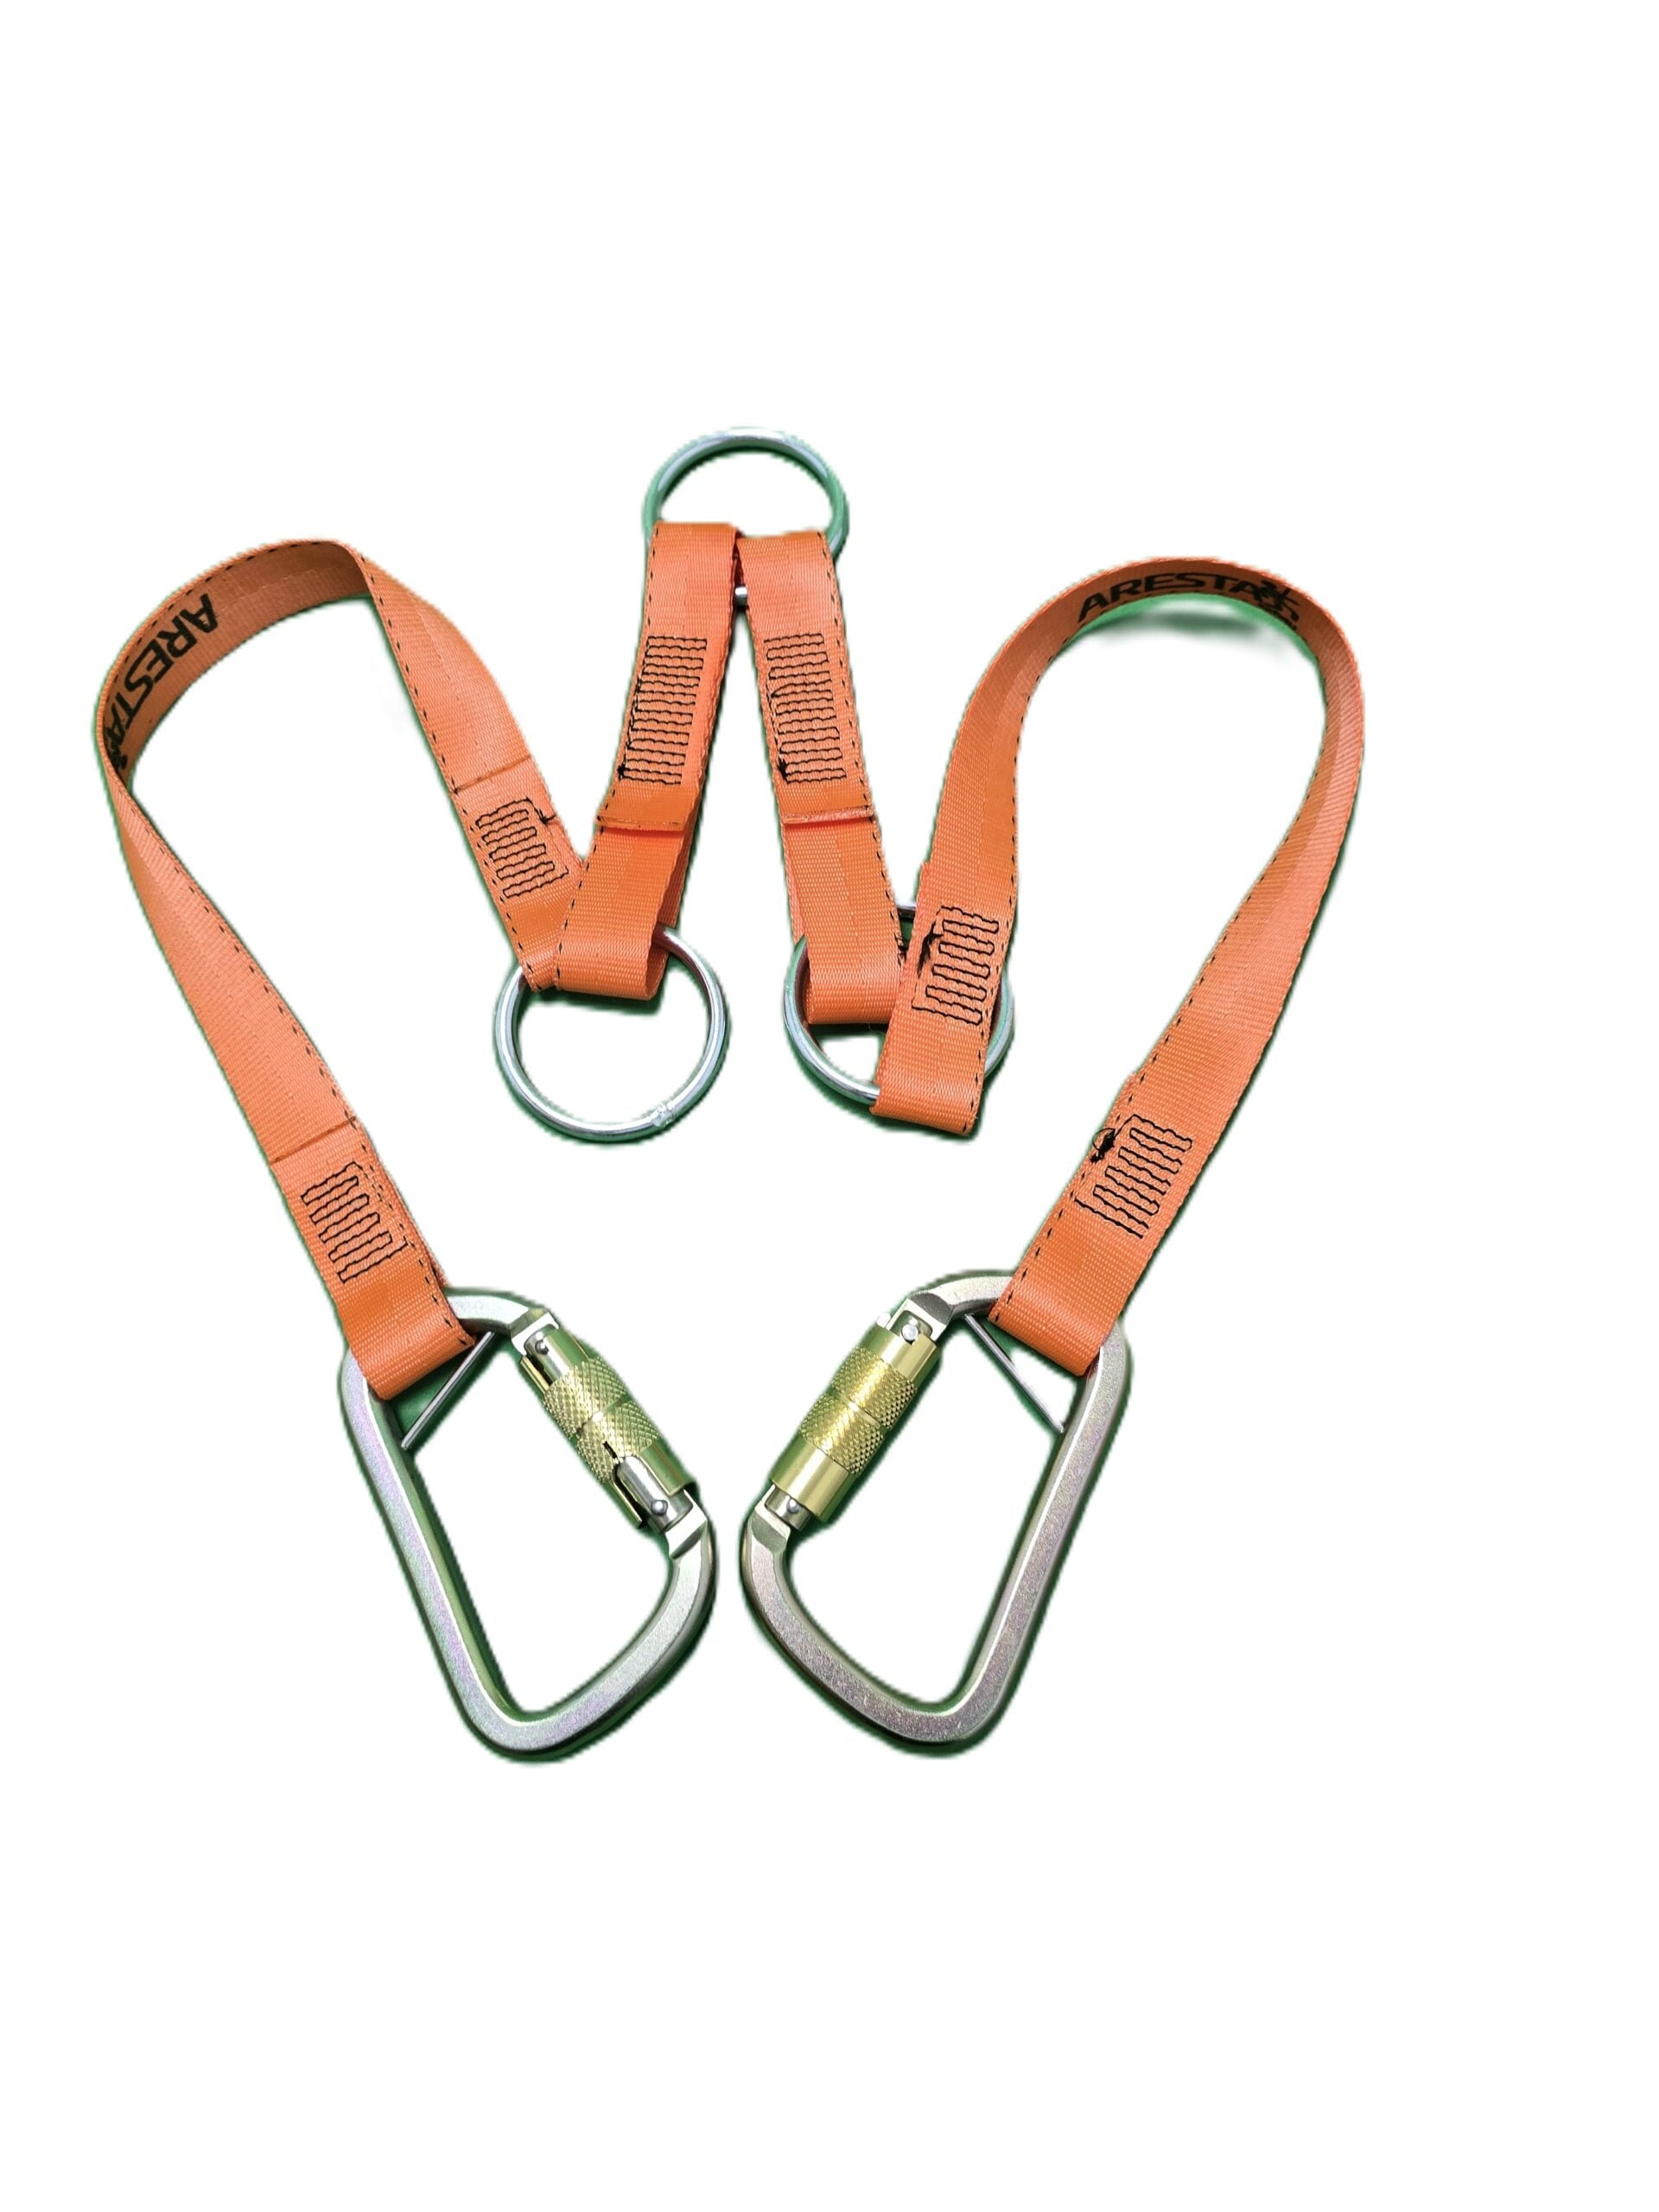
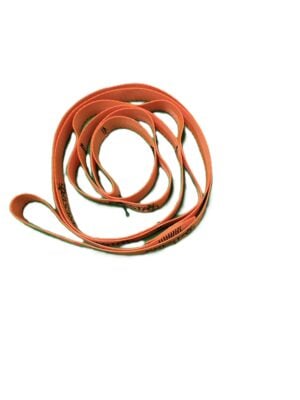
ARESTA Ladder yoke. 1.3m 15kn 25mm
ARESTA Ladder yoke. 1.3m 15kn 25mm
ARESTA Leaning Ladder System: Installation & Rigging Process
The setup for the ARESTA Leaning Ladder System relies entirely on moving from the ground up, establishing a secure anchor to convert the ladder into a rigid fall-restraint system before you ever climb into a high-risk zone.
Step-by-Step Procedure
- Attach the rope to the ladder: Ground Preparation Thread the ARESTA 10m static kernmantle rope over the top rung of the ladder (never over a V-bracket or pole bracket). Secure it tightly, ensuring the rest of the line falls straight down the underside/working side of the ladder.
- Position the ladder: Erecting Erect the ladder to your required height, positioning it slightly to the side of your intended working area using the ARESTA Leaning Ladder System framework.
- Drill & fit the anchor bolt: Structural Anchorage Drill your structural fixing point using a 12.5mm masonry bit. Hand-tighten the reusable ARESTA Ladder Tie Bolt clockwise into the hole until the expansion sleeve grips, pulling the eyebolt ring flush and completely secure against the structure.
- Secure the ladder with the Yoke: System Tensioning Fit the ARESTA Hi-Vis Ladder Yoke around both stiles. Use the 90-degree hand method (aligning your index finger with the pitch of the ladder so your thumb points toward the anchor bolt) to select the perfect rung height. Connect the ARESTA 3m high-vis strap via its cam-lock between the ARESTA Hi-Vis Ladder Yoke and the wall anchor, pulling it firmly toward you to tension the ladder tight against the structure.
- Tension the vertical line: Line Security Tie off the bottom end of the ARESTA 10m static kernmantle rope to the second rung from the bottom on the underside of the ladder, ensuring the vertical line is fully tensioned and straight.
- Connect personal protection: Final Safety Check Don your ARESTA 2-point full body harness. Attach the ARESTA Rope Grab device to the vertical kernmantle rope, and lock its twist-lock karabiner directly into your front sternal D-ring.
Climbing, Working, & Descending
- Ascending: Climb steadily. The ARESTA Rope Grab device is designed to slide freely up the tensioned rope as you ascend, providing continuous vertical protection.
- Work Restraint at Height: Once you reach your working height, slide the ARESTA Rope Grab device up as high as possible. Connect your adjustable ARESTA Cow's Tail lanyard to the highest reachable rung above you to lock yourself into a strict work-restraint position.
- Descending: Disconnect the ARESTA Cow's Tail lanyard first. To move down, use your index finger and thumb to lightly push up the eyelet mechanism on the ARESTA Rope Grab device to release the internal cam, allowing you to manually guide the device down to waist height as you step down the rungs.
⚠️ Crucial Anchor Removal Note: When striking the ARESTA Leaning Ladder System, dismantling is the exact reverse. After unscrewing the reusable ARESTA Ladder Tie Bolt, allow a few minutes for the rubber expansion jacket to fully relax and shrink back to its normal size before trying to pull it cleanly out of the drilled hole.
Maintenance, Lifespan, & Inspection Guide
To keep both the ARESTA Leaning Ladder Kit and ARESTA Pole Kit compliant, safe, and smooth to operate, maintenance comes down to three main habits: proper cleaning, smart storage, and rigorous tracking.
Lifespan & Obsolescence Limits
- ARESTA Textile Components (Ropes, Slings, Yoke, Harness): The absolute maximum lifespan for the synthetic textile elements of the ARESTA Leaning Ladder Kit is 10 years from the date of manufacture, regardless of usage. Even if an ARESTA rope or ARESTA harness has sat unused in a bag, the synthetic fibres naturally degrade over time and must be permanently retired after 10 years.
- ARESTA Metal Components (Rope Grab, Karabiners, Anchor Bolts): ARESTA metal hardware theoretically has an indefinite lifespan, provided it passes every pre-use check and formal thorough examination.
Component Lifespan Matrix
| Component | Max Lifespan | Typical Service Life (Daily Use) | Primary Retirement Triggers |
| ARESTA 10m Static Rope & Straps | 10 Years | 1 to 3 years | Cuts, core-shot (lumpy spots), severe abrasion, or heat glazing. |
| ARESTA Harness & Pole Sling | 10 Years | 2 to 5 years | Pulled stitching, chemical stains, or missing/illegible serial labels. |
| ARESTA Rope Grab & Karabiners | Indefinite | 5 to 10 years | Excessive gate play, weak spring return, or over 1mm of metal wear. |
| ARESTA Reusable Tie Bolts | Indefinite | Variable (Thread wear) | Stripped threads, bent shafts, or a perished rubber expansion sleeve. |
💡 The "First Sign" Rule: Always remember that lifespan is not a guarantee. The 10-year mark is simply a hard stop. If an ARESTA textile component fails an inspection on year two, its lifespan drops to that exact moment. It must be instantly quarantined, cut up, and replaced.
Cleaning & Care Routine
ARESTA Ropes & Webbings (Sling, Yoke, Straps)
- Wash down heavy dirt or mud using cold or lukewarm water (maximum 30°C) mixed with a mild, pH-neutral soap or specialised tech wash.
- Never use harsh detergents, bleach, or solvent-based cleaners, as they break down the synthetic polyamide and polyester fibres of the ARESTA equipment.
- Air Dry Only: Dry everything naturally in a well-ventilated space away from direct heat sources or prolonged UV/sunlight.
ARESTA Mechanical Gear (Rope Grab & Karabiners)
- If the ARESTA Rope Grab's internal cam or ARESTA karabiner gates feel gritty, rinse them under warm water to flush out dirt.
- Dry them thoroughly with a lint-free cloth.
- Lubricate moving pivot points using a dry, Teflon-based lubricant (like PTFE spray). Avoid heavy WD-40 or grease.
ARESTA Reusable Anchor Bolts
- Keep the threads on the expansion sleeve clean of masonry dust. Wipe down after extraction so the rubber jacket can relax and reset cleanly for the next job.
Storage Best Practices
- Avoid the "Wet Kit Bag" Trap: Never pack the ARESTA kit away into its carry bag while the rope or webbings are still damp. This traps moisture, promoting mildew and mold that can weaken textile strength.
- Environment: Store the ARESTA kit bag in a cool, dry place out of direct sunlight. Keep it away from vehicle fuels, battery acids, or harsh solvents in the back of service vans.
Inspection & Traceability
- The 12-Month Rule: Under LOLER and standard personal protective equipment (PPE) regulations, the entire ARESTA Leaning Ladder Kit must undergo a thorough, documented examination by a competent person at least every 12 months (and often every 6 months if subject to harsh, daily outdoor use).
| Component | What to Look For | Action If Found |
| ARESTA Ropes & Straps | Cuts, severe abrasion, fuzziness, chemical staining, or hard, brittle spots (heat damage). | Quarantine & Destroy |
| ARESTA Stitching | Loose, pulled, broken, or faded contrasting threads on load-bearing joints. | Quarantine & Destroy |
| ARESTA Rope Grab / Cam | Distorted metal, deep scoring, rust, or a sluggish/sticking spring return on the cam. | Quarantine & Replace |
| ARESTA ID Labels | Serial numbers or asset tags that are completely worn off or illegible. | Quarantine until identity can be verified |
Comprehensive Risk Assessment
This risk assessment covers the standard hazards, risks, and control measures associated with setting up and using the ARESTA Leaning Ladder Kit and ARESTA Pole Kit.
| Hazard | Associated Risk | Risk Level | Control Measures & Best Practices |
| Falls from Height | Serious injury or fatality due to falling while climbing or transitioning at the top of the ladder. | High | * Pre-use check: Always inspect the ARESTA 2-point harness, ARESTA rope, and ARESTA rope grab before use.
* Ground-up safety: Ensure the vertical line is fully rigged and tensioned before ascending.
* Total restraint: Clip the ARESTA rope grab into the sternal D-ring before climbing. Always secure the adjustable ARESTA Cow's Tail lanyard to a high rung for full work restraint before commencing tasks. |
| Ladder Instability / Slippage | Ladder slipping outward at the base or flipping sideways during ascent. | Medium | * Rigid stabilisation: Always use the 90-degree hand method to position the ARESTA Hi-Vis Ladder Yoke accurately.
* Proper tension: Fully tension the ARESTA straps (to the wall anchor or choked ARESTA pole sling) to pull the ladder flush against the structure.
* Secure footings: Ensure the ladder feet are on stable, level ground; use base stability accessories if ground conditions are poor. |
| Equipment Degradation / Mechanical Failure | Failure of ropes, webbings, or mechanical grabs under load, leading to a fall. | Medium | * Strict 10-year limit: Retire all ARESTA textile elements (ropes, slings, harness) exactly 10 years from manufacture.
* Compliance tracking: Conduct formal 6- or 12-month thorough examinations under LOLER/PPE regulations. Use asset tracking tags to verify the status of the ARESTA equipment before every shift.
* Chemical isolation: Keep all ARESTA textiles completely clear of vehicle fuels, battery acids, or harsh solvents. |
| Structural / Anchor Failure | The anchor bolt pulling out of the masonry wall under tension or shock load. | Medium | * Correct drilling: Use a precise 12.5mm masonry bit to drill the anchor hole.
* Substrate check: Only fix into sound structural brickwork or concrete; avoid loose mortar joints or crumbling render.
* Proper strike method: Allow the rubber expansion sleeve on the reusable ARESTA Ladder Tie Bolt to fully relax before extracting to protect the thread and sleeve integrity. |
| Falling Objects | Dropped tools or components injuring ground operatives or members of the public. | Low | * Drop prevention: Use tool lanyards on all hand tools used at height alongside the ARESTA system deployment.
* Exclusion zone: Keep the immediate ground area below the ladder clear of non-essential personnel during rigging and work. |
Only logged in customers who have purchased this product may leave a review.
Related products
-

Spyda Temporary Roof Anchor
£1,757.30SKU: AP-145 10
-
ATRESTA 7 loop, pole sling attachment, 15kn 25mm webbing
£0.00SKU: AR-PS005
-

AF-130 150 ARESTA PROT 3 Work Positioning Device with Rope-Grab – 15m
£155.25SKU: AF-130/150
-

AF-610 Utility Multi-Purpose Pole Strap
£127.30SKU: AF-610
-
Webbing Sling – 120 cm
£12.60SKU: ZS-120
-

T-Bar Roof Anchor
£188.12SKU: AZ-200
-

AZ 700 ARESTA Anchor Strap – 0.9m
£68.08SKU: AZ-700/90
-

Concrete Anchor Point 400mm
£290.06SKU: AT-020/400
Reviews
There are no reviews yet.